Project Life | Fall Family Photos
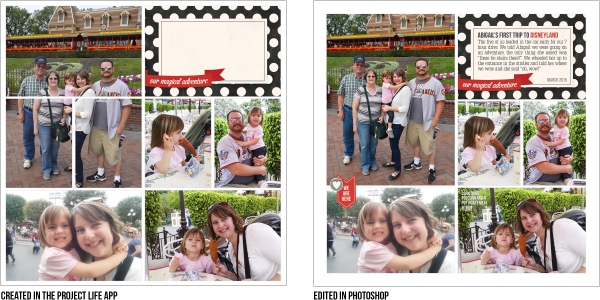
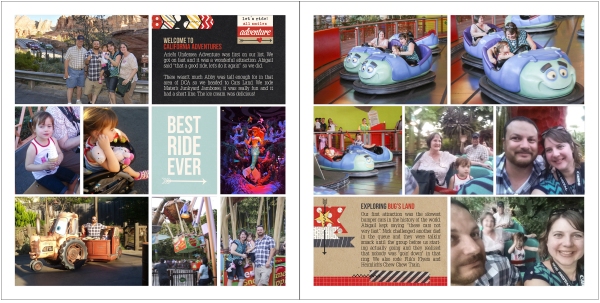
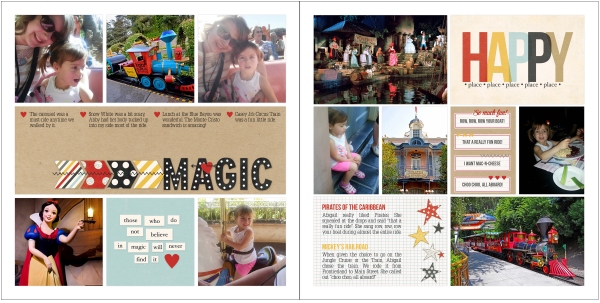
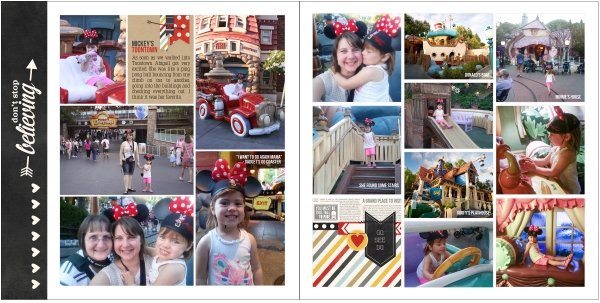
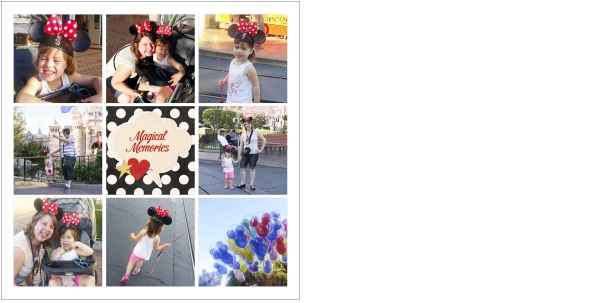
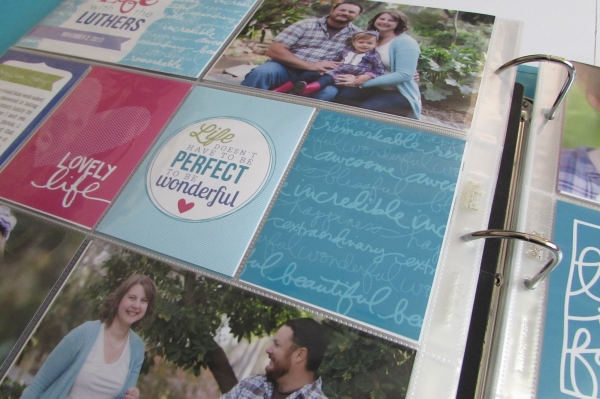
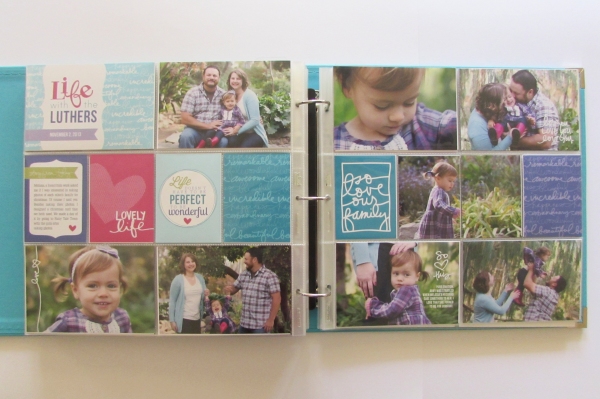
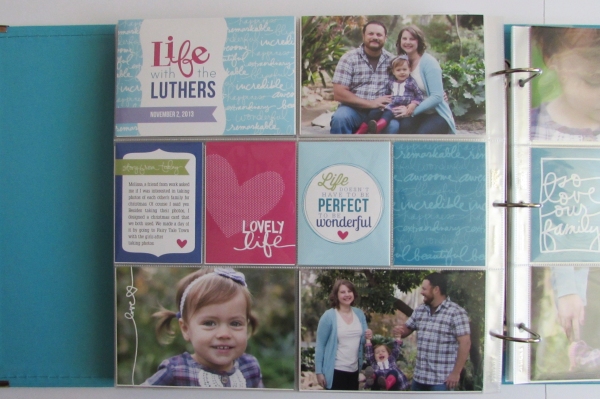
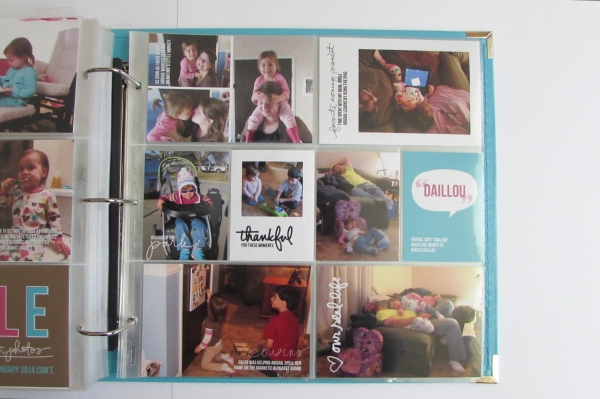
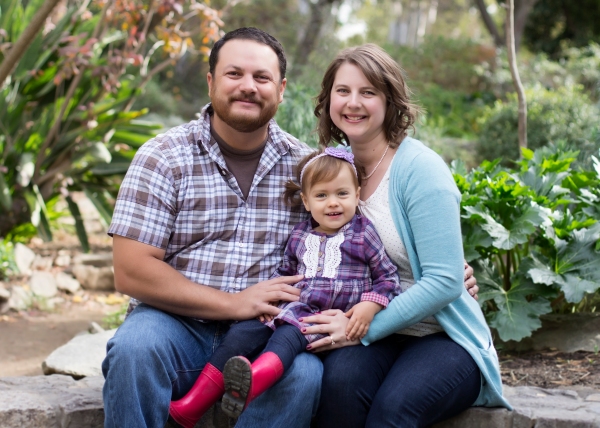
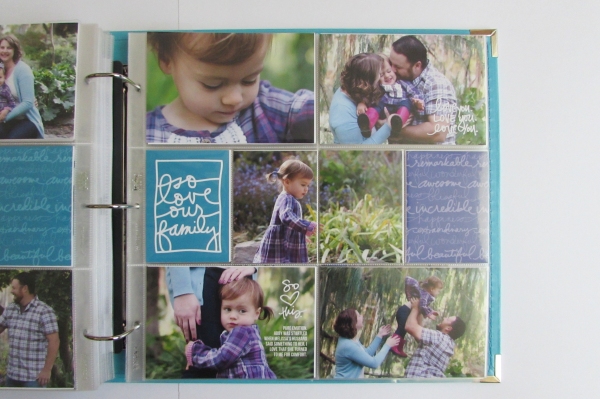
Welcome back! These photos were taken back in November last year. Anytime we have family photos taken, I like to dedicate an entire spread just for them, but this time there were no portrait photos to go into the 3×4 areas. So I did the usual “story of the day” card, the quote card and then I created some fun filler cards using a variety of Ali Edwards Brushes.
 Thanks so much for stopping by. Have a great day!
Project Life | January 2014
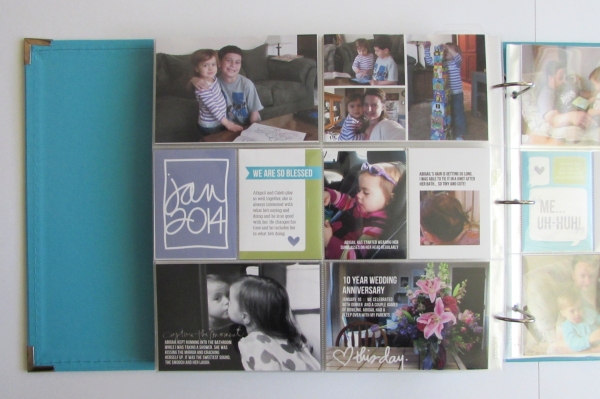
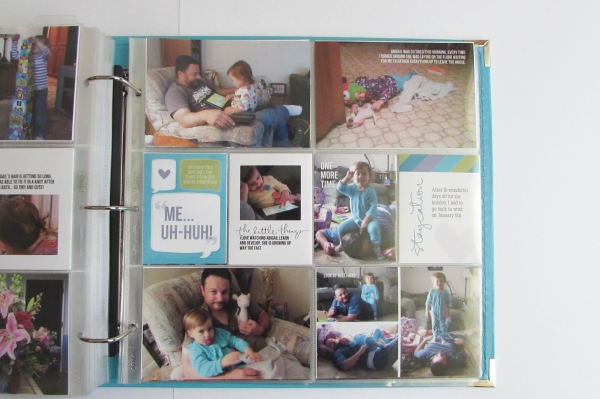
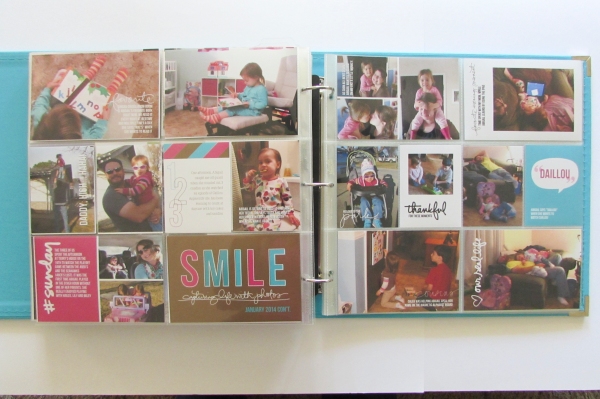
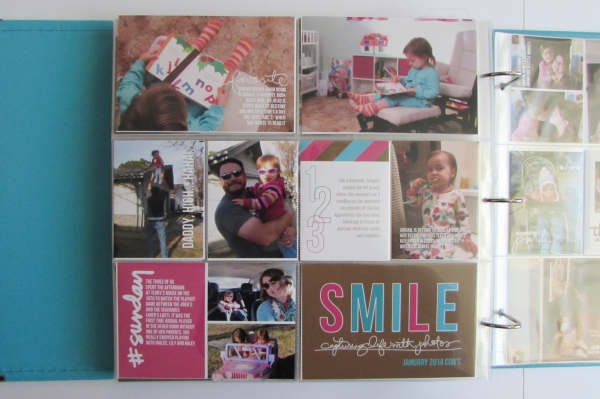
Hello again, thanks so much for stopping back by! I want to start sharing my Project Life spreads here on the blog. I have gotten so much inspiration from fellow Project Lifers out there and I’m hoping to help others feel inspired. I am still trying to figure out how to best photograph my spreads with natural light, no glare and rich color. Please bare with me thru this process.
My Project Life process is very different than the average person’s. I do everything (and I mean everything) digitally using Adobe Photoshop and Adobe Illustrator, then I order my prints and insert them into the Becky Higgins Project Life pocket pages. I’ll create a separate post that goes into greater detail as to what my process actually is.
As you all know, staying up-to-date is almost impossible – I try to keep up with the current months while I work my way through the previous months that have not been completed yet. I let my photos and journaling dictate how many spreads each month or event needs to tell the story. Generally our monthly everyday life has been using 2 spreads with the addition of any special events or holidays that happen during the month. It works for me!
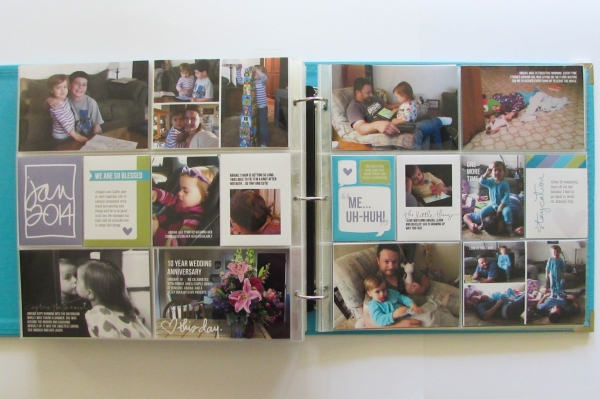
Here is my first spread for January 2014…
And here is my second spread for January 2014…
Thanks for stopping by, I hope you have a great day!
Quiet Felt Book
Welcome back! I have a project I made for my daughter over this last summer I’d like to share. We had a plane trip coming up and she was going to be a lap baby, so I wanted something brand new, something quiet and something that hopefully would keep her very interested. I had been gathering lots of great ideas for quiet books on Pinterest and decided it was time to make one. At this time, sewing was still very new to me, having only taken my first real sewing class a few months prior to the creation of this book.
I had no cutting instructions of measurements to follow, just visual ideas. From that, I spent about 6 hours total creating what you see below. I did it in 3 parts: Part 1, I planed what I wanted on each page, what colors and how it was going to bind. Part 2, I cut, glued and assembled each page. Part 3, I sewed it all together. Honestly I winged the hole project, at one point my mom asked if I knew what I was doing and my honest answer was “not really”.
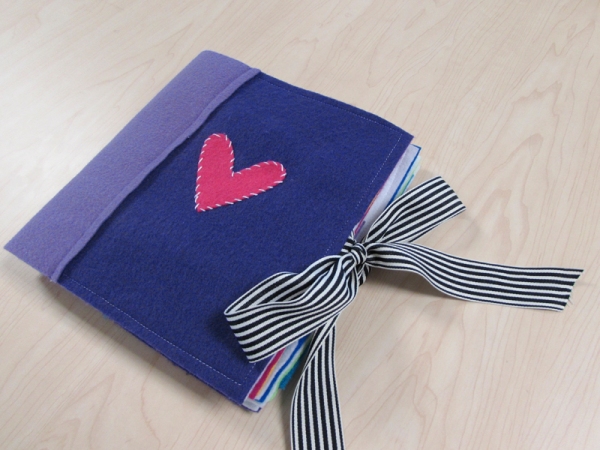 I used my Big Shot to cut the heart and hand sewed it to the front after the entire book was assembled.
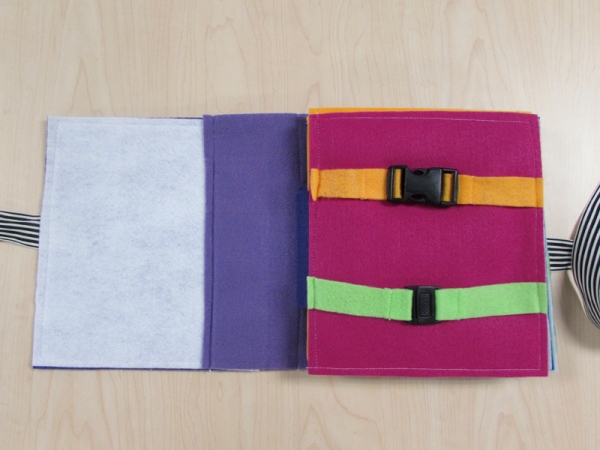 My daughter loves buckles, clipping and unclipping will keep her busy for a while. I found a buckle company online that allowed single item orders and ordered a few.
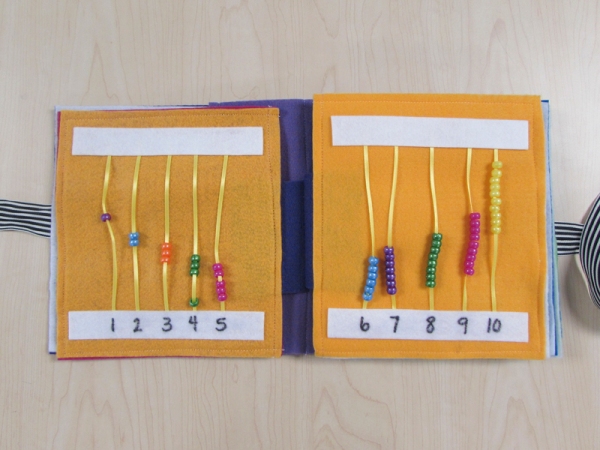 This was an idea I found on Pinterest, super simple and very fun.
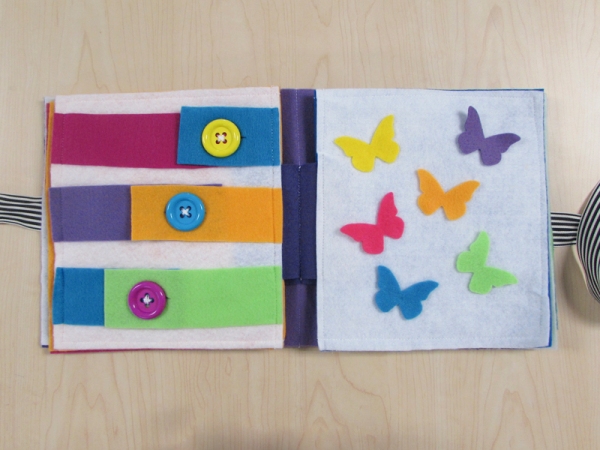 For this page, I sewed buttons to one strip of felt and cut slits in the partner strip so she could button and unbutton each button. On the facing page, the butterflies are just glued in the center, she plays with the edges and calls out the colors.
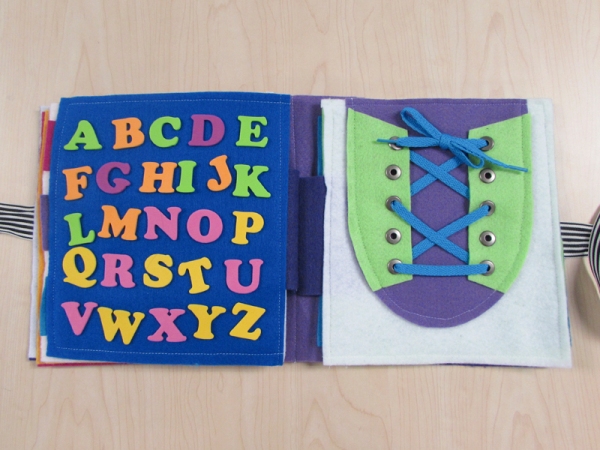 I learned a lot from this page. The letters are foam stickers, which I will not use again, because my daughter likes to pick them off. They definitely need to be sewn down. The shoe idea is something else I saw on Pinterest, I love it, but looking back, I should not have used the jumbo eyelets. They are starting to pull out of the holes, the felt isn’t enough to keep them in place.
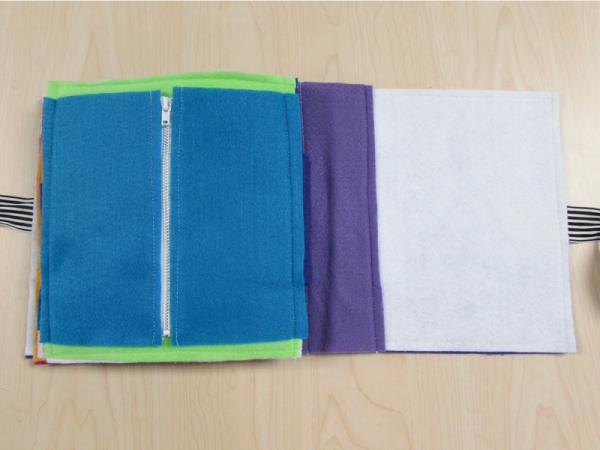 And the very last page is just a zipper that I sewed to two pieces of felt.
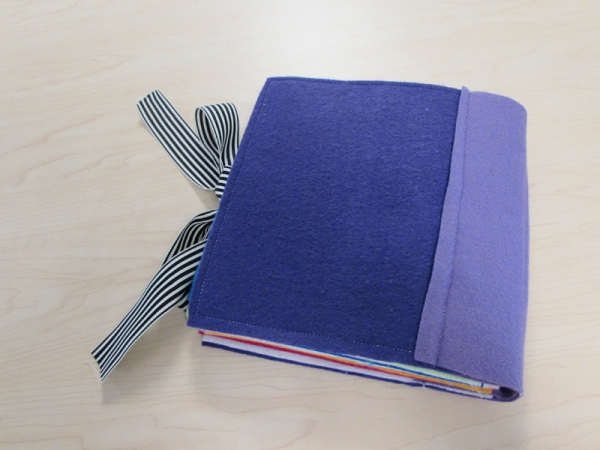 I hope you have found this post inspiring. If you’d like to follow me on Pinterest, click here.
Hello 2014
Hello dear blog followers, boy has it been a long time since I have posted anything here. Sorry about that, but I have been very busy enjoying the first 2 years of my daughter’s life and being a full time worker away from the home.
My hobbies have changed drastically since we have become a family of 3, I haven’t stamped in over a year and a half and I have started down sizing the amount of papercrafting supplies I have. I started documenting our new life, Project Life style, it allows me to capture all of our memories with photos and journaling in a quick and creative fashion. I’m able to use my love of design to create all my own journaling cards, which I love all things “custom”. I hope to share some of that here.
I’ve also taken up sewing, I love that I can sew something for our family or as a gift and it can live and be loved for many many years to come.
I’m also in the process of creating a site for you to order some of the cards I’ve made, over 7 years of stamping, I have a few cards I’d like to sell off for others to enjoy. That site should be up and running within the following month (if not sooner). As soon as I launch it, I’ll have a create a post about it.
That’s all the time I have right now. I’ll be back much sooner than last time!
Paper Parade Wall Clock
Hello there, I know it’s been awhile, but I’m still alive and still waiting on baby Abigail to arrive. She’s due October 18th, hope she’s on time.
The project I have to share with you today is one of two projects I created for the UStamp Paper Parade event that is going on right now. If your interested in signing up, click on the banner below or the button on the right side. There are 40 projects that each have great tips and techniques. There is also a pdf for each one to print out and save for future projects. Hope you enjoy!
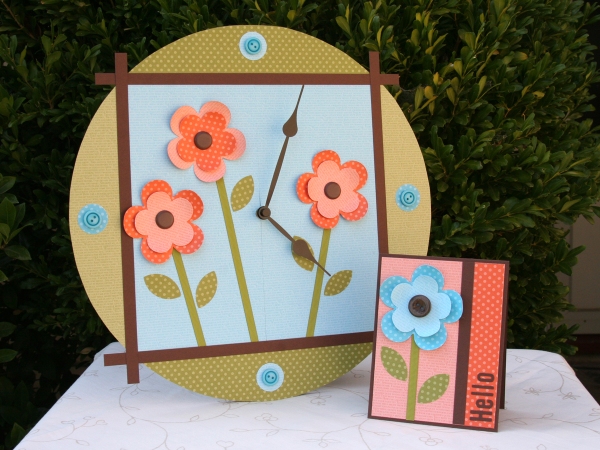 For my first project, I choose to cover a flat wooden clock. It was really easy and a lot of fun. You can decorate it specifically for any room, just make sure your embellishments don’t stick out farther than the hands. I hope this inspires you to make something 3 dimensional!
Happy stamping!
Field Flowers
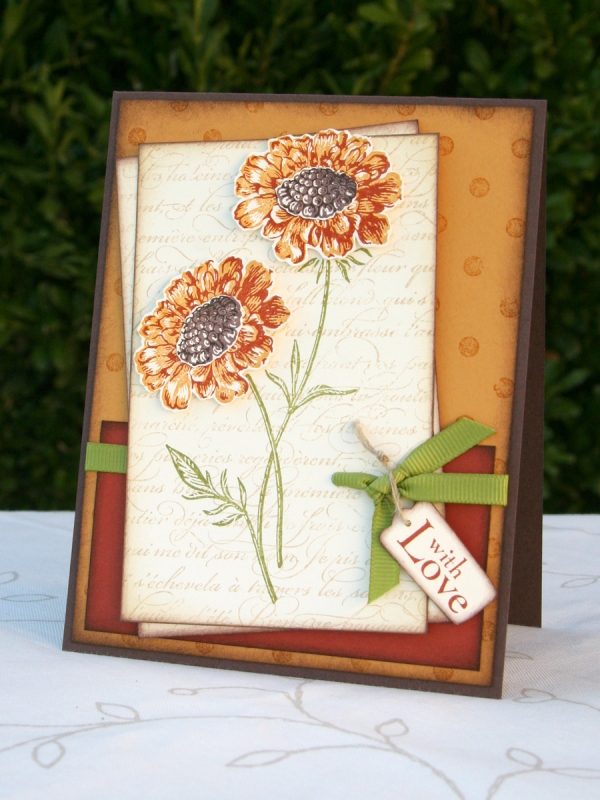
Stamps: Field Flowers, En Francais, Distressed Dots
Paper: Chocolate Chip, More Mustard, Cajun Craze, Very Vanilla
Ink: Chocolate Chip, Early Espresso, More Mustard, Cajun Craze, Old Olive, Tea Stain (distressing kit)
Accessories: Old Olive Grosgrain, Linen Thread, Modern Label Punch, Sponges, 1/16 Hole Punch, Crop-a-dile
Thanks so much for stopping by, hope you have a great day!
Cute Rhino
Hello all, so sorry for my long absence. I completely lost track of time and now it’s the middle of August. Only a little over 2 months til our baby is due. We are so excited and there’s tons of stuff that still needs to be done in preparation for her. I’m working on a few wall hanging for her room that I promise to share once finished and hung.
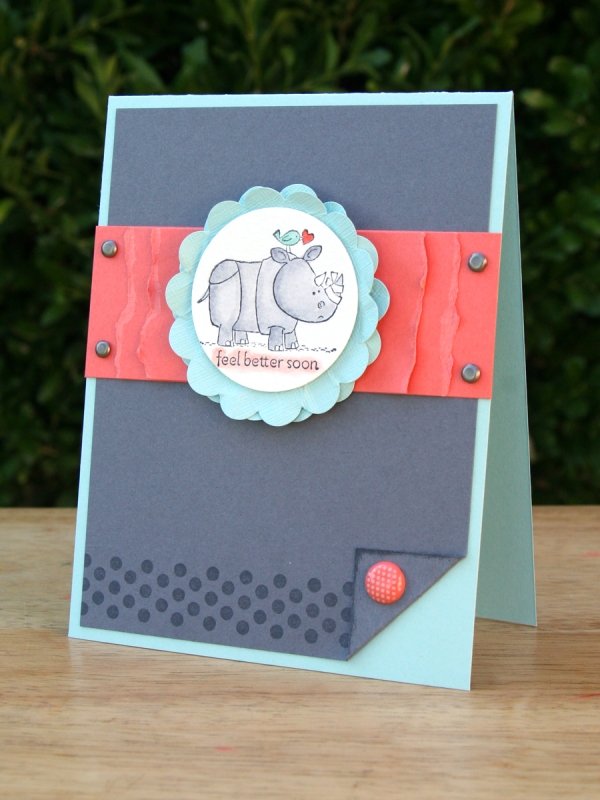
Today’s card is one that was inspired by a card I saw on another demonstrator’s blog. This little rhino is so cute, he comes from the Kidoodles set, this set has 6 images that span a few themes… I just had to have it!
Stamps: Kidoodles, Borderlines
Paper: Pool Party, Basic Gray, Calypso Coral, Watercolor Paper
Ink: Pool Party, Basic Gray, Calypso Coral, VersaMark
Accessories: Neutral Brads, In-Color Polka Dot Brads, 1-3/4 Circle Punch, 2-3/8 Scallop Circle Punch, Blender Pen
Thanks for stopping by!
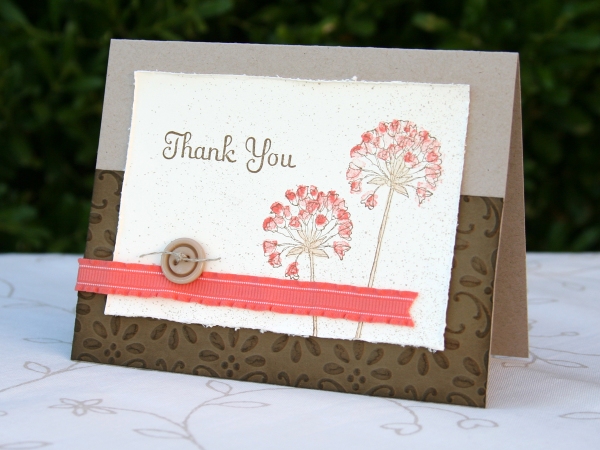
Simply Soft
Stamps: Simply Soft Stamp Set (Hostess), Kind Thanks Stamp Set
Paper: Crumb Cake, Soft Suede, Very Vanilla
Ink: Crumb Cake, Soft Suede, Calypso Coral
Accessories: Neutral Buttons, Linen Thread, Paper Snips (for distressing), Coral Ruffled Ribbon, Big Shot Die Cut Machine, Final Press Embossing Folder
Thanks for stopping by!
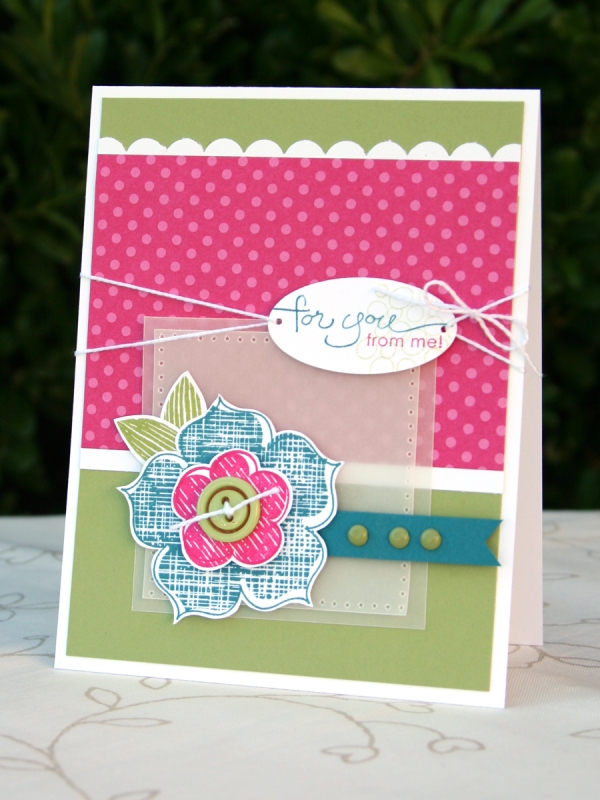
It’s Raining Flowers!
Hello and happy Friday! I can’t believe it is already July 15th… where has the first have of the month gone! Just a quick post for you today to share this lovely card. I used the Mojo Mondays Sketch 189 as a starting point for this card. It was so fun and easy. I just love the way it turned out.
Stamps: A Word For You, Raining Flowers
Paper: Whisper White, Island Indigo, Lucky Limeade, Melon Mambo DSP, Vellum
Ink: Island Indigo, Lucky Limeade, Melon Mambo
Accessories: Large Oval Punch, 1/16 Hole Punch, Scallop Border Punch, White Bakers Twine, Mat Pack, Bright/Subtle Brads, Bright/Subtle Buttons
Hope you have a great weekend, thanks for stopping by!
