My process :: using the Project Life app to create a Shutterfly book
Hello again! Whether you have been following for years or this is your first time, I just want to welcome you to my blog. This poor blog has been neglected (you can read why in a previous post), but I’m hoping to breathe a little life into it with this post and more to come in the future.
The Goal
I wanted to create an 8×8 book featuring my favorite photos from our disney trip and using the Simple Stories Say Cheese digital kit. After creating the pages using the Project Life app and Photoshop I wanted to upload them to Shutterfly so I could redeem a coupon for a free 8×8 book.
The Process
Step 1: Upload my photos and the Say Cheese digital kit to my DropBox account. The Project Life app doesn’t recognize non-Project Life kits as such, so you need to treat them like photos.
Step 2: Start creating pages with the project life app. There were a few pages that I wanted to merge a few photo spots to make one larger one, since there isn’t a way to do that in the app I either filled all spots with the same photo or left them blank with the intent to make this edit using Photoshop. I didn’t realize the app would let me export a “completed” page with blank photo spots, but it does, it just asks you to confirm that you are sure about doing it.
Step 3: Once all pages were as complete as I could get them in the PL app, I exported each of them at 12×12 and emailed them to myself. I exported them at 12×12 even though I was going to create an 8×8 book, because I wanted to start out with as much resolution as possible.
Step 4: I made a list of what needed to be done to all of the files (resizing and border adjustment) and another list with what needed be done to each file (moving photos, adding borders and journaling). I really like lists, they help me see what I have done and what is left to do.
Step 5: I opened each file up in Photoshop and performed the following adjustments to each one
A. Open 12×12 original from Project Life app in Photoshop
B. Resize image to 8×8 (making sure “resampling” is not checked, I want to keep all the file’s resolution)
C. Increase Canvas Size to 8.5 x 8.5 (I like a wider white border are the parameter and it keeps the art from falling into the gutter of the book)
D. Save an 8×8 psd file
Step 6: This is the most time consuming part in the Photoshop process. At this point, I made any visual adjustments that I wanted, like adding a border, moving/enlarging a photo and adding journaling to my layouts.
Step 7: Once my page was to my liking, I saved a high resolution jpg that I uploaded to my Shutterfly account.
Step 8: Shutterfly has a ton of templated books to choose from, I picked a portfolio option because I wanted a simple photo collage for the cover of my book. For each page layout, I choose the 1 photo layout that took up the entire page and dropped my 8×8 photo in place. This was the quickest part, in a matter of moments my book was ready to order.
Here are a few Before and After pages with a couple details you may find helpful.
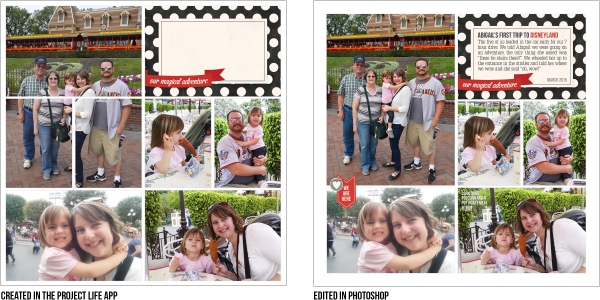 On this page, I overlayed a full image in place of the 3 shown in the upper left corner. The day after I did this, the PL app update included this layout. I also added my journaling and a fun embellishment.
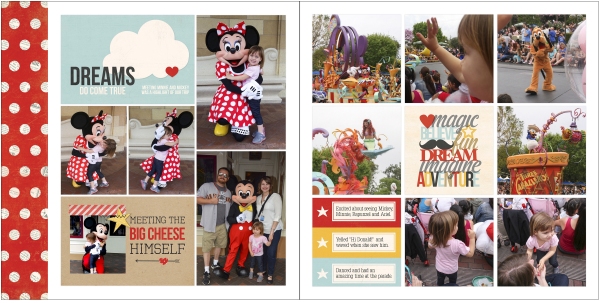
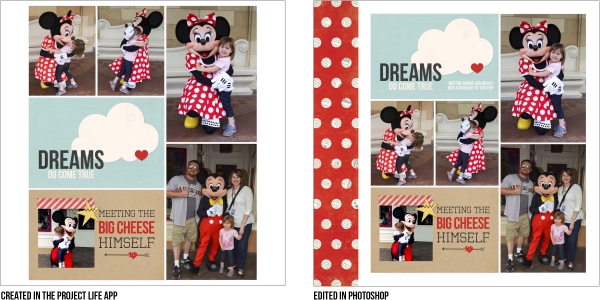 On this page, I swapped position of the Dreams card and the 2 vertical photos to give the page a better sense of balance. I also shifted the entire photo collage over to the right and added the red border. The “Big Cheese” card is from the Say Cheese kit that I dropped my photo into and saved in my DropBox account to use in the PL app. I did have to create my own clipping mask for the photo, the card did not come that way.
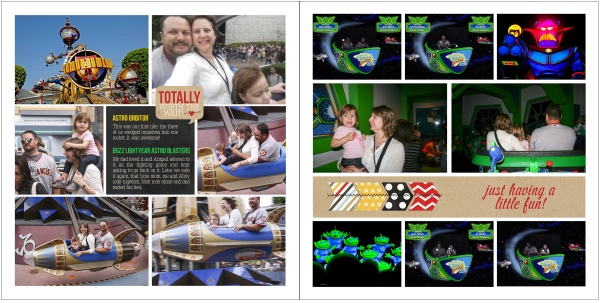
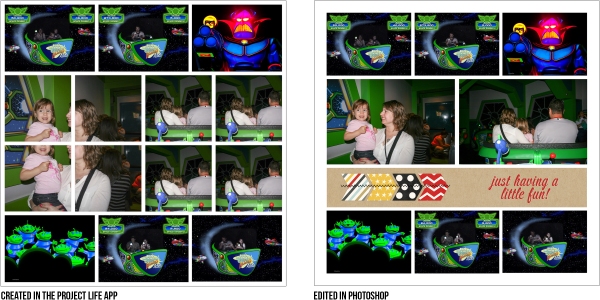 All I wanted to do with this page was merge some photo spots together, by doing a larger image overlay and add the horizontal border. I cold have just left the spots blank, but didn’t realize at the time.
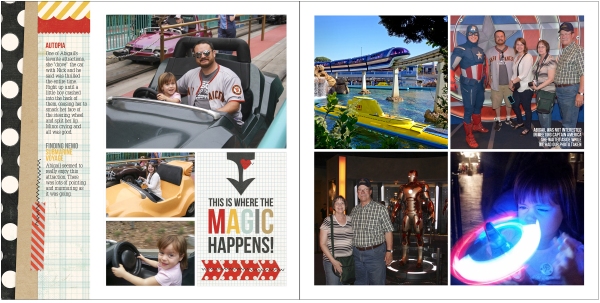
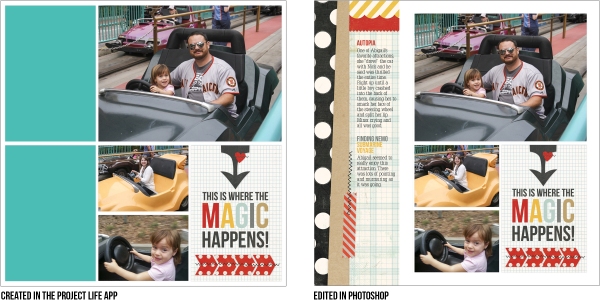 By this page, I had learned that the app would export your file without all photo spots being filled. I just added the border and my journaling to this page.
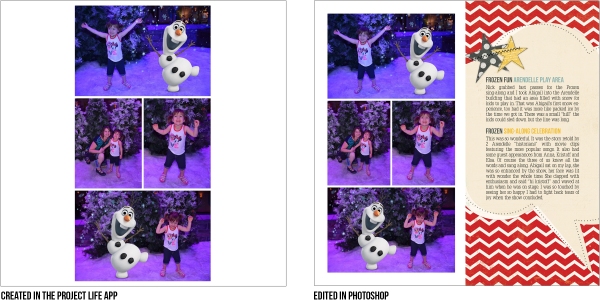 On this page, I just shifted the photo collage to the left to make space for the half page border and journaling.
The End Result
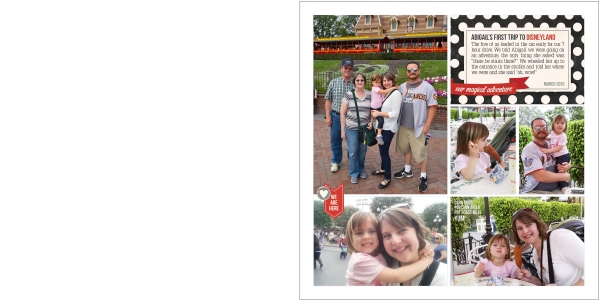
Below are my completed pages that I used to create my shutterfly book.
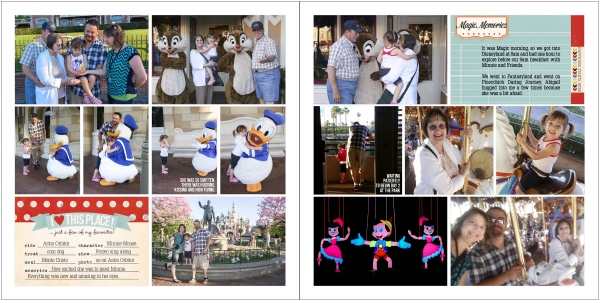
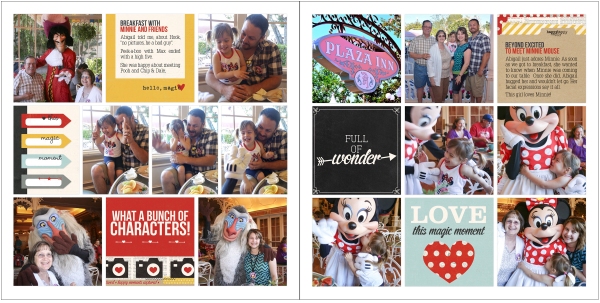
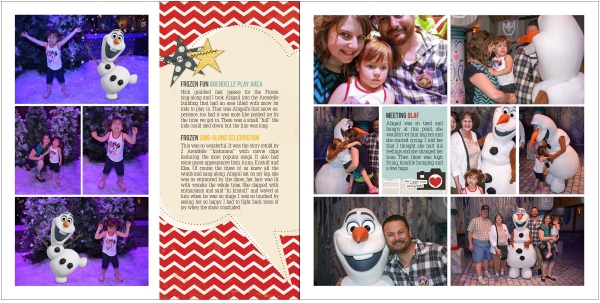
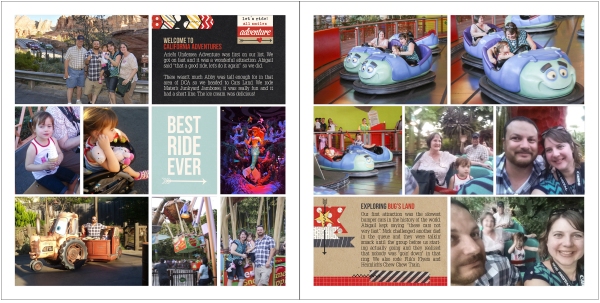
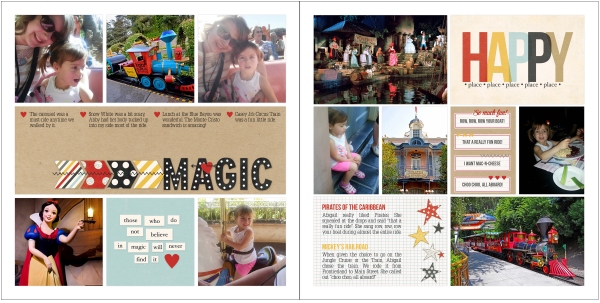
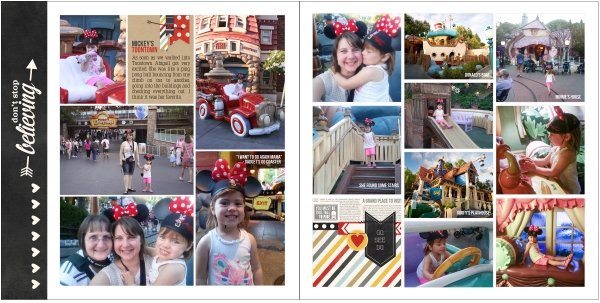
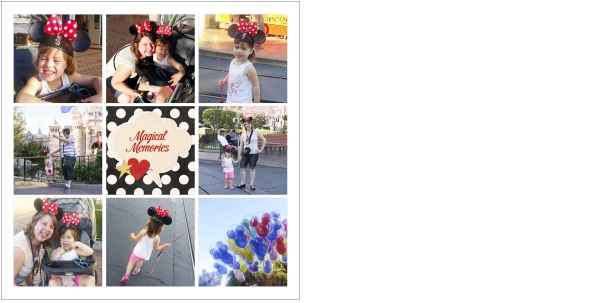 I hope you’ve found this helpful. I also just wanted to mention that this is not a sponsored post. Please don’t hesitate to leave questions in the comments.
Have a great day!

Great blog post. I use the Project Life app and Paint Shop Pro to complete my pages.
Next time you export your pages, you can export them to your Dropbox. I do this all the time and it saves time.